Reading and processing video files is a common task in computer vision, and OpenCV makes it easy to work with video data. In this article, we’ll go through the process of reading and displaying video files using OpenCV. Whether you’re working on a video analysis project or want to learn more about handling video data in Python, this guide will provide you with the needed knowledge.
Introduction to OpenCV Python
OpenCV (Open Source Computer Vision Library) is a powerful tool for computer vision tasks. It includes various image and video processing functionalities, including reading, writing, displaying videos, applying filters, object detection, and more. This article will focus on reading and displaying video files using OpenCV.
READ MORE:
- cv2.imread() – Read Image using OpenCV Python
- cv2.resize() – Resizing Image using OpenCV Python
- cv2.imwrite() – Saving Images in OpenCV Python
Setting Up the Environment
Before we begin, ensure that you have Python installed on your system. OpenCV can be installed using, the Python package manager. Open a terminal or command prompt and run the following command:
pip install opencv-python
This command installs the basic OpenCV package. If you need additional functionalities like image I/O and video encoding, you may also want to install opencv-python-headless or opencv-python-contrib.
Code: Step-by-Step Explanation
We will begin with the coding part now. In this, we will read a video and then display it.
Step 1: Opening a Video File
The first step in working with a video file is to open it. We do this using OpenCV’s cv2.VideoCapture() function, which allows us to load the video and prepare it for processing. Below is a simple Python script that opens a video file:
import cv2

# Specify the path to your video file
video_path = 'video.mp4'
cap = cv2.VideoCapture(video_path)
Here, video_path is the path to your video file and cap is the video capture object that OpenCV uses to interact with the video.
Step 2: Checking if the Video File is Opened Successfully
Verifying that the video file was opened successfully before proceeding is essential. OpenCV might fail to open the file if the path is incorrect or the file is damaged. We can check this with the isOpened() method:
if not cap.isOpened():
    print("Error: Could not open video.")
    exit()
If cap.isOpened() returns False, the program prints an error message and exits. This step ensures that we don’t try to process an invalid or non-existent video file.
Step 3: Reading and Displaying Video Frames
We can now read and display each frame with the video file successfully opened. Videos are made up of a series of frames (images), and we can process them one at a time in a loop:
while True:
    ret, frame = cap.read()

    if not ret:
        print("End of video.")
        break

    # Display the frame
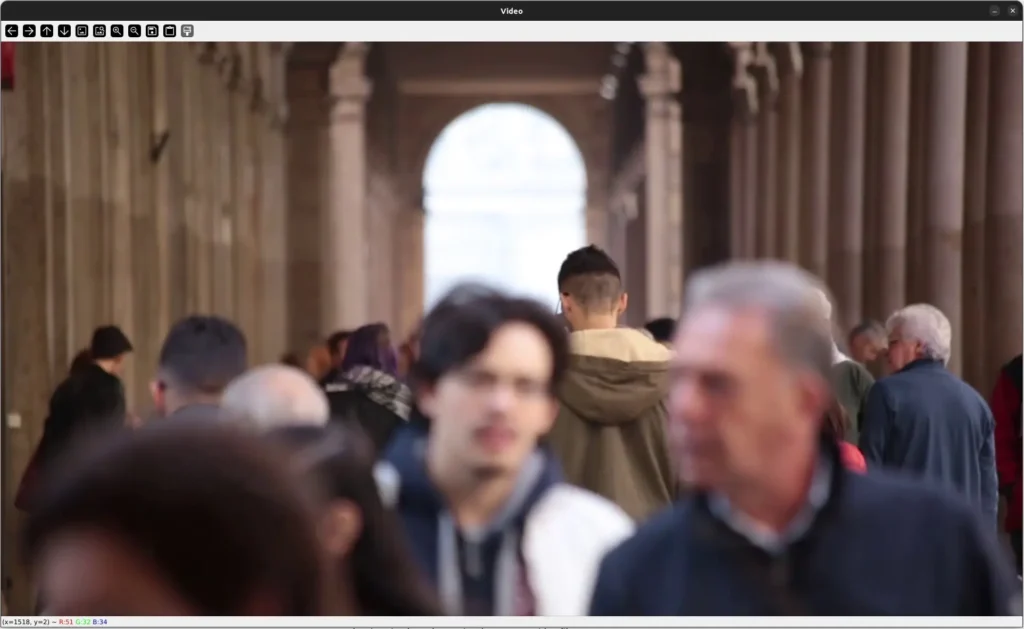
    cv2.imshow('Video', frame)

    # Press 'q' to exit the video
    if cv2.waitKey(30) & 0xFF == ord('q'):
        break
Let’s break down the code:
cap.read()reads the next frame from the video. It returns two values:ret, a boolean indicating whether the frame was read successfully, andframe, which contains the image data for that frame.- The loop continues until
cap.read()returnsFalse, which usually happens at the end of the video. cv2.imshow()displays the current frame in a window titled ‘Video’.cv2.waitKey(30)waits for 30 milliseconds to allow for user input. If the ‘q’ key is pressed, the loop breaks, and the video playback stops.

Step 4: Exiting and Releasing Resources
After the video ends or the user exits the playback, it’s important to release the resources and close any open windows to avoid memory leaks:
cap.release()
cv2.destroyAllWindows()
cap.release()releases the video capture object.cv2.destroyAllWindows()closes all OpenCV windows that were opened during the video playback.
Handling Common Issues
When working with video files, you might encounter some common issues:
- Video Not Opening: Ensure the file path is correct. Try using an absolute path if the relative path doesn’t work.
- Unsupported File Format: OpenCV supports many video formats, but if your file format isn’t supported, you may need to convert it to a compatible format like
.mp4or.avi. - Slow Playback: The delay in
cv2.waitKey()may need adjustment depending on the frame rate of your video. If the video plays too slowly, reduce the delay time.
Practical Applications
Reading and processing video files can be applied to many real-world scenarios, including:
- Surveillance Systems: Analyzing live video feeds for security purposes.
- Automated Video Editing: Processing videos to extract highlights or apply filters.
- Object Detection: Identifying and tracking objects in video frames.
OpenCV provides a strong foundation for developing these and other video-processing applications.
Conclusion
This article explored how to read and display video files using OpenCV in Python. We’ve covered the basic steps, including opening a video file, reading frames, displaying them, and handling common issues. This knowledge forms the foundation for more advanced video processing tasks like video analysis, editing, and computer vision applications.
With this understanding, you can experiment with video files and OpenCV in your projects.


